
Knowledgebase (2344)
Children categories
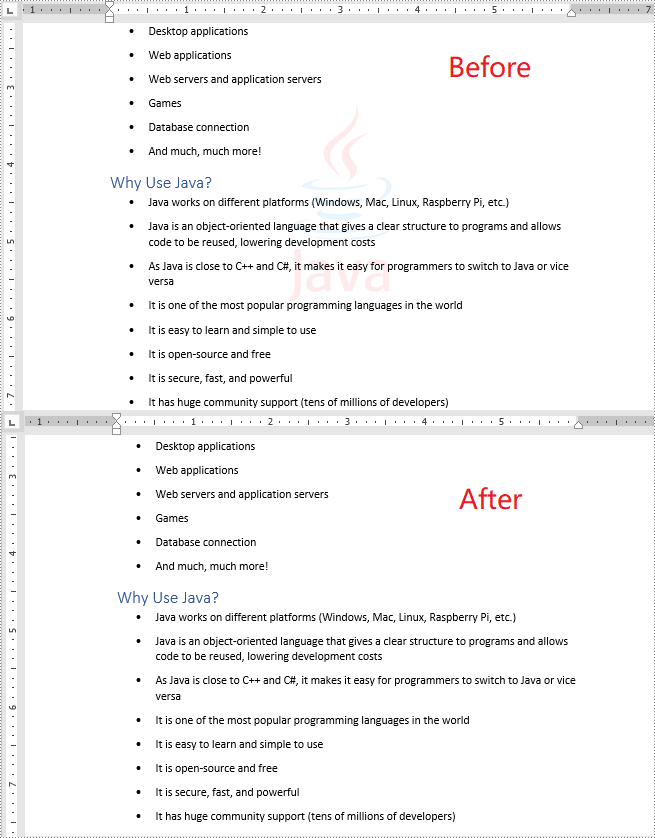
C#/VB.NET: Remove Text or Image Watermarks from Word Documents
2022-06-24 08:50:00 Written by KoohjiWatermarks can be added to Word documents to inform other people about the documents' ownership or status. Sometimes, you may want to get rid of an existing watermark in a Word document. This article will demonstrate how to remove watermarks from Word documents in C# and VB.NET using Spire.Doc for .NET.
Install Spire.Doc for .NET
To begin with, you need to add the DLL files included in the Spire.Doc for .NET package as references in your .NET project. The DLL files can be either downloaded from this link or installed via NuGet.
PM> Install-Package Spire.Doc
Remove Text or Image Watermarks from Word Documents in C# and VB.NET
You can remove the watermark of a Word document by setting the Document.Watermark property as null.
The following steps show you how to remove the watermark from a Word document:
- Initialize an instance of Document class.
- Load a Word document using Document.LoadFromFile() method.
- Remove the watermark from the document by setting the Document.Watermark property as null.
- Save the result document using Document.SaveToFile() method.
- C#
- VB.NET
using Spire.Doc;

namespace RemoveWatermark
{
    class Program
    {
        static void Main(string[] args)
        {
            //Create a Document instance
            Document doc = new Document();
            //Load a Word document
            doc.LoadFromFile("Sample.docx");

            //Remove the watermark from the document
            doc.Watermark = null;

            //Save the result document
            doc.SaveToFile("RemoveWatermark.docx", FileFormat.Docx2013);
        }
    }
}
Apply for a Temporary License
If you'd like to remove the evaluation message from the generated documents, or to get rid of the function limitations, please request a 30-day trial license for yourself.
With the help of Spire.Presentation, we can easily add SmartArt shape to the presentation slides. We can add a new node to the existing SmartArt shape to presentation slides and the following code example demonstrates the same.
Step 1: Create a new PowerPoint document and load the sample document from file.
Presentation presentation = new Presentation();
presentation.LoadFromFile("Sample.pptx");
Step 2: Get the SmartArt from the presentation slide.
ISmartArt sa = presentation.Slides[0].Shapes[1] as ISmartArt;
Step 3: Add a node.
ISmartArtNode node = sa.Nodes.AddNode();
Step 4: Add text and set the text style for the node.
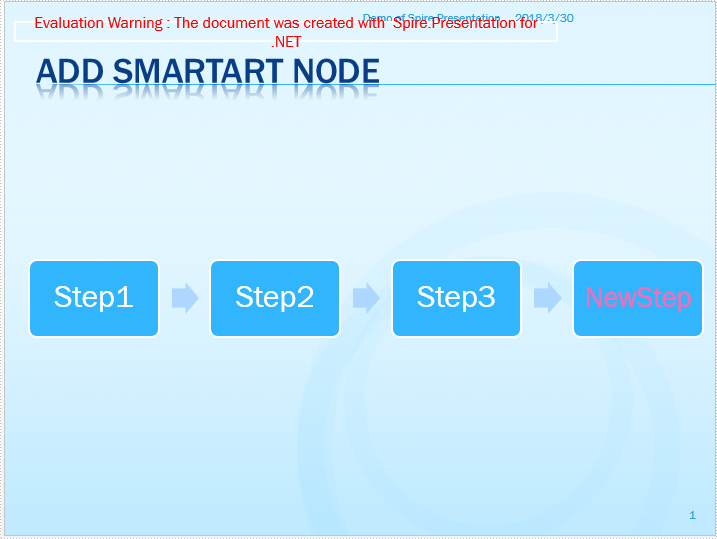
node.TextFrame.Text = "NewStep";
node.TextFrame.TextRange.Fill.FillType = Spire.Presentation.Drawing.FillFormatType.Solid;
node.TextFrame.TextRange.Fill.SolidColor.KnownColor = KnownColors.HotPink;
Step 5: Save the document to file.
presentation.SaveToFile("AddNode.pptx", FileFormat.Pptx2010);
Effective screenshot after adding a new node:
Full codes of adding a node to SmartArt:
using Spire.Presentation;
using Spire.Presentation.Diagrams;
namespace AddNote
{

    class Program
    {

        static void Main(string[] args)
        {
            Presentation presentation = new Presentation();
            presentation.LoadFromFile("Sample.pptx");

            ISmartArt sa = presentation.Slides[0].Shapes[1] as ISmartArt;

            ISmartArtNode node = sa.Nodes.AddNode();

            node.TextFrame.Text = "NewStep";
            node.TextFrame.TextRange.Fill.FillType = Spire.Presentation.Drawing.FillFormatType.Solid;
            node.TextFrame.TextRange.Fill.SolidColor.KnownColor = KnownColors.HotPink;

            presentation.SaveToFile("AddNode.pptx", FileFormat.Pptx2010);


        }
    }
}
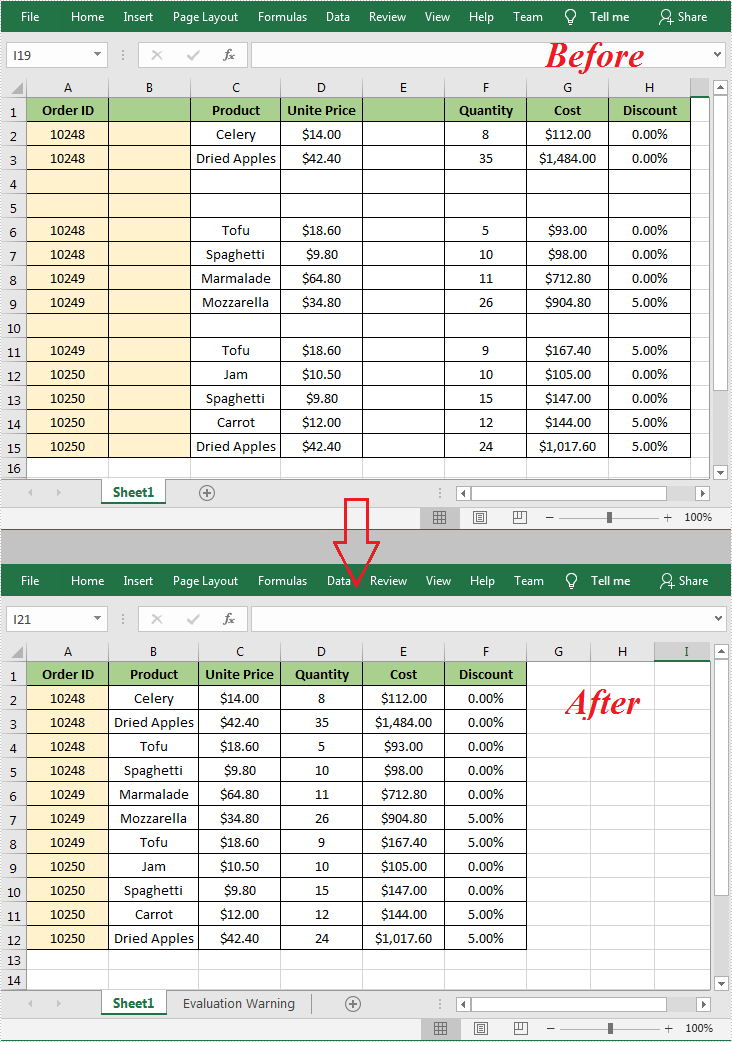
When working with an Excel document, some blank rows or columns may appear due to the modification of data. Although having blank rows or columns in a worksheet isn't necessarily a bad thing, in most cases they are still undesirable. Furthermore, such blank rows or columns may cause errors if formulas are applied. To delete these blank rows or columns, you can simply select and delete them, but if there are a lot of blank rows and columns, deleting them manually is a very time-consuming task. In this article, you will learn how to programmatically delete blank rows and columns in an Excel worksheet using Spire.XLS for .NET.
Install Spire.XLS for .NET
To begin with, you need to add the DLL files included in the Spire.XLS for .NET package as references in your .NET project. The DLL files can be either downloaded from this link or installed via NuGet.
PM> Install-Package Spire.XLS
Delete Blank Rows and Columns in Excel
The detailed steps are as follows.
- Instantiate a Workbook object.
- Load a sample Excel file using Workbook.LoadFromFile() method.
- Get a specified worksheet using Workbook.Worksheets[] property.
- Loop through all used rows in the specified worksheet and determine whether the row is blank using XlsRange.IsBlank property.
- Delete the blank rows using Worksheet.DeleteRow() method.
- Loop through all used columns in the specified worksheet and determine whether the column is blank using XlsRange.IsBlank property.
- Delete the blank columns using Worksheet.DeleteColumn() method.
- Save the result file using Workbook.SaveToFile() method.
- C#
- VB.NET
using System.Linq;
using Spire.Xls;

namespace DeleteBlankRowsAndColumns
{
    class Program
    {
        static void Main(string[] args)
        {
            //Instantiate a Workbook object
            Workbook workbook = new Workbook();

            //Load a sample Excel file
            workbook.LoadFromFile("sample.xlsx");

            //Get the first worksheet
            Worksheet sheet = workbook.Worksheets[0];

            //Delete blanks rows
            for (int i = sheet.Rows.Count() - 1; i >= 0; i--)
            {
                if (sheet.Rows[i].IsBlank)
                {
                    sheet.DeleteRow(i + 1); //Index parameter in DeleteRow method starts from 1
                }
            }

            //Delete blank columns
            for (int j = sheet.Columns.Count() - 1; j >= 0; j--)
            {
                if (sheet.Columns[j].IsBlank)
                {
                    sheet.DeleteColumn(j + 1); //Index parameter in DeleteColumn method starts from 1
                }
            }

            //Save the file
            workbook.SaveToFile("DeleteBlankRowsAndColumns.xlsx", ExcelVersion.Version2013);
        }
    }
}
Apply for a Temporary License
If you'd like to remove the evaluation message from the generated documents, or to get rid of the function limitations, please request a 30-day trial license for yourself.
