
Knowledgebase (2344)
Children categories
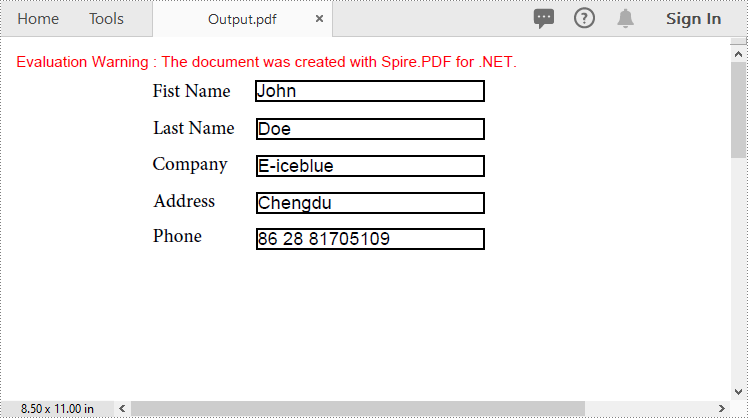
Importing and exporting PDF form data allows users to seamlessly exchange form information with external files in formats such as FDF (Forms Data Format), XFDF (XML Forms Data Format), or XML. The import function enables quick population of PDF forms using data from external sources, while the export function extracts data from PDF forms and saves it to external files. This capability simplifies data management, making it especially valuable for processing large volumes of form data or integrating with other systems. In this article, we will demonstrate how to import PDF form data from FDF, XFDF, or XML files, or export PDF form data to FDF, XFDF, or XML files in C# using Spire.PDF for .NET.
- Import PDF Form Data from FDF, XFDF or XML Files in C#
- Export PDF Form Data to FDF, XFDF or XML Files in C#
Install Spire.PDF for .NET
To begin with, you need to add the DLL files included in the Spire.PDF for.NET package as references in your .NET project. The DLLs files can be either downloaded from this link or installed via NuGet.
PM> Install-Package Spire.PDF
Import PDF Form Data from FDF, XFDF or XML Files in C#
Spire.PDF for .NET offers the PdfFormWidget.ImportData() method for importing PDF form data from FDF, XFDF, or XML files. The detailed steps are as follows.
- Create an object of the PdfDocument class.
- Load a PDF document using PdfDocument.LoadFromFile() method.
- Get the form of the PDF document using PdfDocument.Form property.
- Import form data from an FDF, XFDF or XML file using PdfFormWidget.ImportData() method.
- Save the resulting document using PdfDocument.SaveToFile() method.
- C#
using Spire.Pdf;
using Spire.Pdf.Widget;

namespace ImportPdfFormData
{
    internal class Program
    {
        static void Main(string[] args)
        {
            //Create an object of the PdfDocument class
            PdfDocument document = new PdfDocument();
            //Load a PDF document
            document.LoadFromFile("Forms.pdf");

            //Get the form of the PDF document
            PdfFormWidget loadedForm = document.Form as PdfFormWidget;

            //Import PDF form data from an XML file
            loadedForm.ImportData("Data.xml", DataFormat.Xml);

            //Import PDF form data from an FDF file
            //loadedForm.ImportData("Data.fdf", DataFormat.Fdf);

            //Import PDF form data from an XFDF file
            //loadedForm.ImportData("Data.xfdf", DataFormat.XFdf);

            //Save the resulting document
            document.SaveToFile("Output.pdf");
            //Close the PdfDocument object
            document.Close();
        }
    }
}
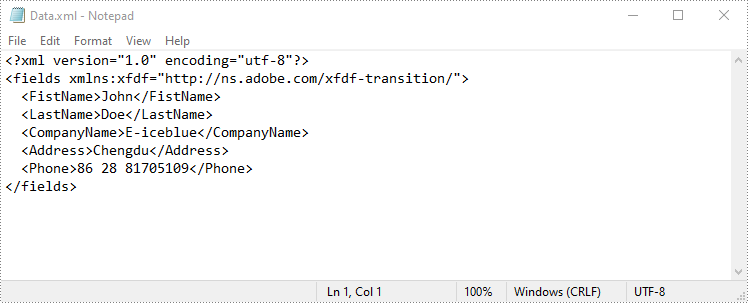
Export PDF Form Data to FDF, XFDF or XML Files in C#
Spire.PDF for .NET also enables you to export PDF form data to FDF, XFDF, or XML files by using the PdfFormWidget.ExportData() method. The detailed steps are as follows.
- Create an object of the PdfDocument class.
- Load a PDF document using PdfDocument.LoadFromFile() method.
- Get the form of the PDF document using PdfDocument.Form property.
- Export form data to an FDF, XFDF or XML file using PdfFormWidget.ExportData() method.
- C#
using Spire.Pdf;
using Spire.Pdf.Fields;
using Spire.Pdf.Widget;

namespace ExportPdfFormData
{
    internal class Program
    {
        static void Main(string[] args)
        {
            //Create an object of the PdfDocument class
            PdfDocument document = new PdfDocument();
            //Load a PDF document
            document.LoadFromFile("Forms.pdf");

            //Get the form of the PDF document
            PdfFormWidget loadedForm = document.Form as PdfFormWidget;

            //Export PDF form data to an XML file
            loadedForm.ExportData("Data.xml", DataFormat.Xml, "Form");

            //Export PDF form data to an FDF file
            //loadedForm.ExportData("Data.fdf", DataFormat.Fdf, "Form");

            //Export PDF form data to an XFDF file
            //loadedForm.ExportData("Data.xfdf", DataFormat.XFdf, "Form");

            //Close the PdfDocument object
            document.Close();
        }
    }
}
Apply for a Temporary License
If you'd like to remove the evaluation message from the generated documents, or to get rid of the function limitations, please request a 30-day trial license for yourself.
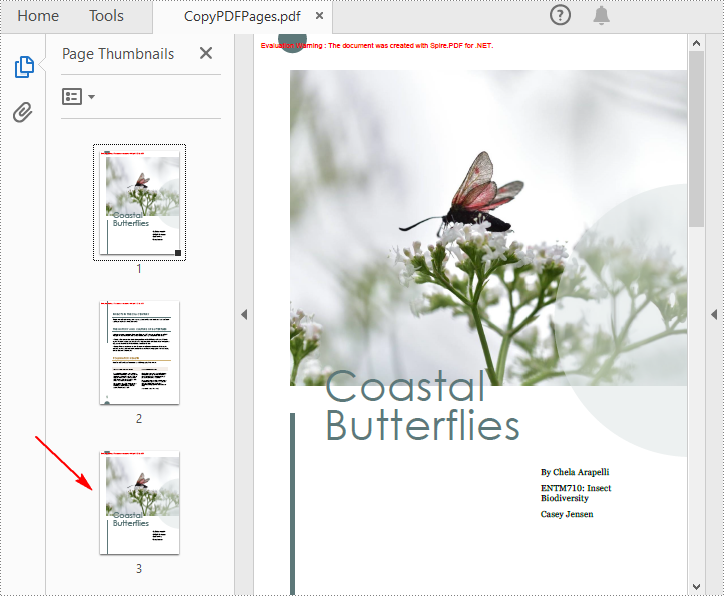
Copying PDF pages facilitates better organization of information. By copying pages that contain important sections and then compiling them into a new document, you can bring together relevant content from different sources to create a cohesive resource that is easy to navigate. In this article, you will learn how to copy pages in PDF in C# using Spire.PDF for .NET.
Install Spire.PDF for .NET
To begin with, you need to add the DLL files included in the Spire.PDF for.NET package as references in your .NET project. The DLL files can be either downloaded from this link or installed via NuGet.
PM> Install-Package Spire.PDF
Copy Pages within the Same PDF in C#
To duplicate PDF pages, you can first create template based on a specified page in PDF, and then draw the template on a newly added page through the PdfPageBase.Canvas.DrawTemplate() method. The following are the detailed steps.
- Create a PdfDocument instance.
- Load a PDF file using PdfDocument.LoadFromFile() method.
- Get a specified page using PdfDocument.Pages[] property.
- Get the size of the page using PdfPageBase.Size property.
- Create a template based on the page using PdfPageBase.CreateTemplate() method.
- Add a new page of the same size at the end using PdfDocument.Pages.Add(SizeF size, PdfMargins margins) method. Or you can insert a new page of the same size at a specified location using PdfDocument.Pages.Insert(int index, SizeF size, PdfMargins margins) method.
- Draw template on the newly added page using PdfPageBase.Canvas.DrawTemplate(PdfTemplate template, PointF location) method.
- Save the result file using PdfDocument.SaveToFile() method.
- C#
using Spire.Pdf;
using Spire.Pdf.Graphics;
using System.Drawing;

namespace DuplicatePage
{
    class Program
    {
        static void Main(string[] args)
        {
            //Create a PdfDocument instance
            PdfDocument pdf = new PdfDocument();

            //Load a PDF file
            pdf.LoadFromFile("Butterflies.pdf");

            //Get the first page
            PdfPageBase page = pdf.Pages[0];

            //Get the size of the page
            SizeF size = page.Size;

            //Create a template based on the page
            PdfTemplate template = page.CreateTemplate();

            //Add a new page the same size as the first page
            page = pdf.Pages.Add(size, new PdfMargins(0));
            //Insert a new page at the specified location
            //page = pdf.Pages.Insert(1, size, new PdfMargins(0));

            //Draw the template on the newly added page
            page.Canvas.DrawTemplate(template, new PointF(0, 0));

            //Save the PDF file
            pdf.SaveToFile("CopyPDFPages.pdf");
        }
    }
}
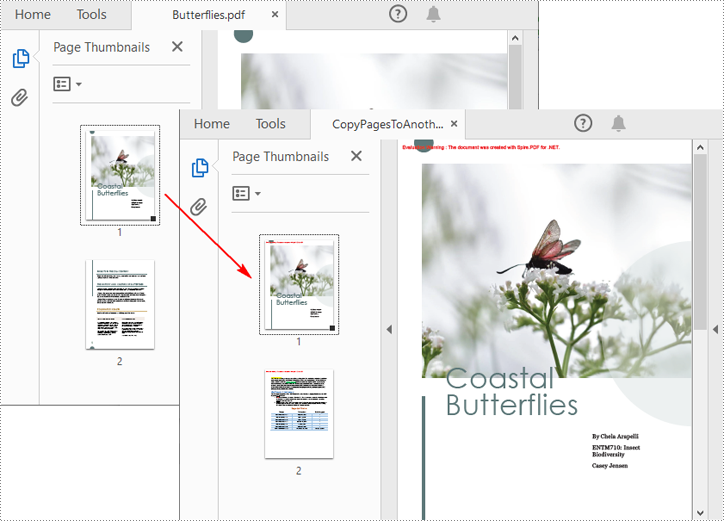
Copy Pages from One PDF to Another in C#
Spire.PDF for .NET also allows you to load two PDF files, create templates based on the pages in one PDF file, and then draw them onto the pages in another PDF file. The following are the detailed steps.
- Create a PdfDocument instance.
- Load two PDF files using PdfDocument.LoadFromFile() method.
- Get a specified page in the first PDF using PdfDocument.Pages[] property.
- Get the size of the page using PdfPageBase.Size property.
- Create a template based on the page using PdfPageBase.CreateTemplate() method.
- Insert a new page of the same size at a specified location in the second PDF using PdfDocument.Pages.Insert(int index, SizeF size, PdfMargins margins) method. Or you can add a new page of the same size at the end of the second PDF using PdfDocument.Pages.Add(SizeF size, PdfMargins margins) method.
- Draw template on the newly added page using PdfPageBase.Canvas.DrawTemplate(PdfTemplate template, PointF location) method.
- Save the result file using PdfDocument.SaveToFile() method.
- C#
using Spire.Pdf;
using Spire.Pdf.Graphics;
using System.Drawing;

namespace CopyPageToAnother
{
    class Program
    {
        static void Main(string[] args)
        {
            //Load the first PDF file
            PdfDocument pdf1 = new PdfDocument();
            pdf1.LoadFromFile("Butterflies.pdf");

            //Load the second PDF file
            PdfDocument pdf2 = new PdfDocument();
            pdf2.LoadFromFile("SamplePDF.pdf");

            //Get the first page in the first PDF file
            PdfPageBase page = pdf1.Pages[0];

            //Get the size of the page
            SizeF size = page.Size;

            //Create a template based on the page
            PdfTemplate template = page.CreateTemplate();

            //Insert a new page at a specified location in the second PDF file
            PdfPageBase newPage = pdf2.Pages.Insert(0, size, new PdfMargins(0));

            //Add a new page at the end of the second PDF file
            //PdfPageBase newPage = pdf2.Pages.Add(size, new PdfMargins(0));

            //Draw the template on the newly added page
            newPage.Canvas.DrawTemplate(template, new PointF(0, 0));

            //Save the result file
            pdf2.SaveToFile("CopyPagesToAnotherPDF.pdf");
        }
    }
}
Apply for a Temporary License
If you'd like to remove the evaluation message from the generated documents, or to get rid of the function limitations, please request a 30-day trial license for yourself.
PDF format has now become a standard for sharing and preserving documents. When working with PDF files, you may sometimes need to copy specific pages in the PDF to extract valuable content, create summaries, or simply share relevant sections without distributing the entire document. In this article, you will learn how to copy pages in PDF in Python using Spire.PDF for Python.
Install Spire.PDF for Python
This scenario requires Spire.PDF for Python. It can be easily installed in your Windows through the following pip command.
pip install Spire.PDF
If you are unsure how to install, please refer to this tutorial: How to Install Spire.PDF for Python on Windows
Copy Pages within the Same PDF in Python
To duplicate PDF pages, you can first create template based on a specified page in PDF, and then draw the template on a newly added page through the PdfPageBase.Canvas.DrawTemplate() method. The following are the detailed steps.
- Create a PdfDocument instance.
- Load a PDF file using PdfDocument.LoadFromFile() method.
- Get a specified page using PdfDocument.Pages[] property.
- Get the size of the page using PdfPageBase.Size property.
- Create a template based on the page using PdfPageBase.CreateTemplate() method.
- Add a new page of the same size at the end using PdfDocument.Pages.Add(size: SizeF, margins: PdfMargins) method. Or you can insert a new page of the same size at a specified location using PdfDocument.Pages.Insert(index: int, size: SizeF, margins: PdfMargins) method.
- Draw template on the newly added page using PdfPageBase.Canvas.DrawTemplate(template: PdfTemplate, location: PointF) method.
- Save the result file using PdfDocument.SaveToFile() method.
- Python
from spire.pdf.common import *
from spire.pdf import *

# Create a PdfDocument object
pdf = PdfDocument()

# Load a PDF file from disk
pdf.LoadFromFile("Butterflies.pdf")

# Get the first page
page = pdf.Pages[0]

# Get the size of the page
size = page.Size

# Create a template based on the page
template = page.CreateTemplate()

# Add a new page of the same size at the end
page = pdf.Pages.Add(size, PdfMargins(0.0))
# Insert a new page at the specified location
# page = pdf.Pages.Insert(1, size, PdfMargins(0.0))

# Draw the template on the newly added page
page.Canvas.DrawTemplate(template, PointF(0.0, 0.0))

# Save the PDF file
pdf.SaveToFile("CopyPDFPages.pdf");
pdf.Close()
Copy Pages from One PDF to Another in Python
Spire.PDF for Python also allows you to load two PDF files, create templates based on the pages in one PDF file, and then draw them onto the pages in another PDF file. The following are the detailed steps.
- Create a PdfDocument instance.
- Load two PDF files using PdfDocument.LoadFromFile() method.
- Get a specified page in the first PDF using PdfDocument.Pages[] property.
- Get the size of the page using PdfPageBase.Size property.
- Create a template based on the page using PdfPageBase.CreateTemplate() method.
- Insert a new page of the same size at a specified location in the second PDF using PdfDocument.Pages.Insert(index: int, size: SizeF, margins: PdfMargins) method. Or you can add a new page of the same size at the end of the second PDF using PdfDocument.Pages.Add(size: SizeF, margins: PdfMargins) method.
- Draw template on the newly added page using PdfPageBase.Canvas.DrawTemplate(template: PdfTemplate, location: PointF) method.
- Save the result file using PdfDocument.SaveToFile() method.
- Python
from spire.pdf.common import *
from spire.pdf import *

# Load the first PDF file
pdf1 = PdfDocument()
pdf1.LoadFromFile("Butterflies.pdf")

# Load the second PDF file
pdf2 = PdfDocument()
pdf2.LoadFromFile("SamplePDF.pdf")

# Get the first page in the first PDF file
page = pdf1.Pages[0]

# Get the size of the page
size = page.Size

# Create a template based on the page
template = page.CreateTemplate()

# Insert a new page at a specified location in the second PDF file
newPage = pdf2.Pages.Insert(0, size, PdfMargins(0.0))

# Add a new page at the end of the second PDF file
# newPage = pdf2.Pages.Add(size, PdfMargins(0.0))

# Draw the template on the newly added page
newPage.Canvas.DrawTemplate(template, PointF(0.0, 0.0))

# Save the result file
pdf2.SaveToFile("CopyPagesToAnotherPDF.pdf")
pdf2.Close()

Apply for a Temporary License
If you'd like to remove the evaluation message from the generated documents, or to get rid of the function limitations, please request a 30-day trial license for yourself.
