
Knowledgebase (2345)
Children categories
Borders can make the associative perception of a table stronger, but sometimes, especially in PowerPoint, you may want to remove them in order to achieve a better visual effect. In this part, we're going to introduce how to set and remove border of an existing table in PowerPoint by using Spire.Presentation for .NET.
Before start, please download and install Spire.Presentation correctly, after that add the Spire.Presentation.dll file as the reference of your project.
Detail steps overview:
Set table border:
Step 1: Create a new presentation instance and load the sample document from file.
Presentation presentation = new Presentation();
presentation.LoadFromFile("testTable.pptx");
Step 2: Find the table by looping through all the slides, and then set borders for it. Users can set different border styles according to their requirements.
foreach (ISlide slide in presentation.Slides)
{
    foreach (IShape shape in slide.Shapes)
    {
        if (shape is ITable)
        {
            foreach (TableRow row in (shape as ITable).TableRows)
            {
                foreach (Cell cell in row)
                {
                    cell.BorderTop.FillType = FillFormatType.Solid;
                    cell.BorderBottom.FillType = FillFormatType.Solid;
                    cell.BorderLeft.FillType = FillFormatType.Solid;
                    cell.BorderRight.FillType = FillFormatType.Solid;
                }
            }
        }
    }
}
Step 3: Save the file as Border.pptx.
presentation.SaveToFile("Border.pptx", FileFormat.Pptx2010);
Remove table border:
Remove table border is very simple, refer to the following codes:
cell.BorderTop.FillType = FillFormatType.None;
cell.BorderBottom.FillType = FillFormatType.None;
cell.BorderLeft.FillType = FillFormatType.None;
cell.BorderRight.FillType = FillFormatType.None;
Effective screenshots:
Before:

After:

Full codes:
using Spire.Presentation;
using Spire.Presentation.Drawing;

namespace Set_and_Remove_Table_Border_in_PPT
{
    class Program
    {
        static void Main(string[] args)
        {
            Presentation presentation = new Presentation();
            presentation.LoadFromFile("testTable.pptx");
            foreach (ISlide slide in presentation.Slides)
            {
                foreach (IShape shape in slide.Shapes)
                {
                    if (shape is ITable)
                    {
                        foreach (TableRow row in (shape as ITable).TableRows)
                        {
                            foreach (Cell cell in row)
                            {
                                //Add top border and set its FillType as Solid.
                                cell.BorderTop.FillType = FillFormatType.Solid;
                                //Remove top border
                                //cell.BorderTop.FillType = FillFormatType.None;

                                cell.BorderBottom.FillType = FillFormatType.Solid;
                                //cell.BorderBottom.FillType = FillFormatType.None;

                                cell.BorderLeft.FillType = FillFormatType.Solid;
                                //cell.BorderLeft.FillType = FillFormatType.None;

                                cell.BorderRight.FillType = FillFormatType.Solid;
                                //cell.BorderRight.FillType = FillFormatType.None;
                            }
                        }
                    }
                }
            }
            presentation.SaveToFile("Border.pptx", FileFormat.Pptx2010);
        }
    }
}
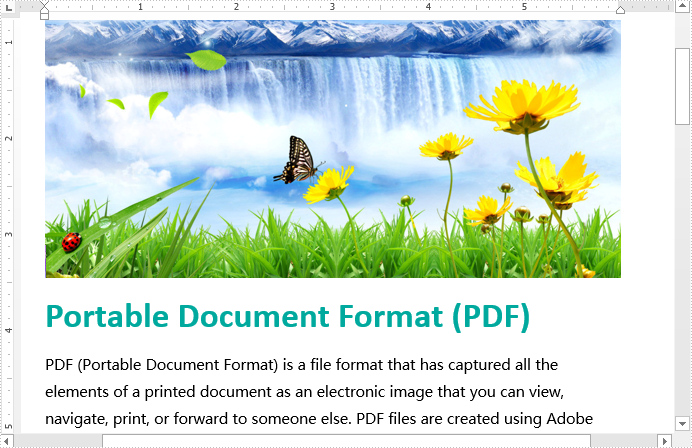
PDF and Word are the two most commonly used files in our daily life, however, sometimes we need to do conversion between them due to their own advantages, disadvantages or our different requirements. Spire.Doc for WPF as a professional word component enables developers to convert Word to PDF easily by invoking the document.SaveToFile() method.
This is the screenshot of the original word document:
Now follow the steps below:
First, please download and install Spire.Doc correctly, then create a WPF application project and add the Spire.Doc.Wpf.dll as the reference of your project.
Second, drag a button to the MainWindow, double click the button to add following codes to convert Word to PDF.
//Load document
Document document = new Document();
document.LoadFromFile("sample.docx");

//convert to PDF
document.SaveToFile("toPDF.PDF",FileFormat.PDF);

//Launch the file
System.Diagnostics.Process.Start("toPDF.PDF");
'Load document
Dim document As New Document()
document.LoadFromFile("sample.docx")

'convert to PDF
document.SaveToFile("toPDF.PDF",FileFormat.PDF)

'Launch the file
System.Diagnostics.Process.Start("toPDF.PDF")
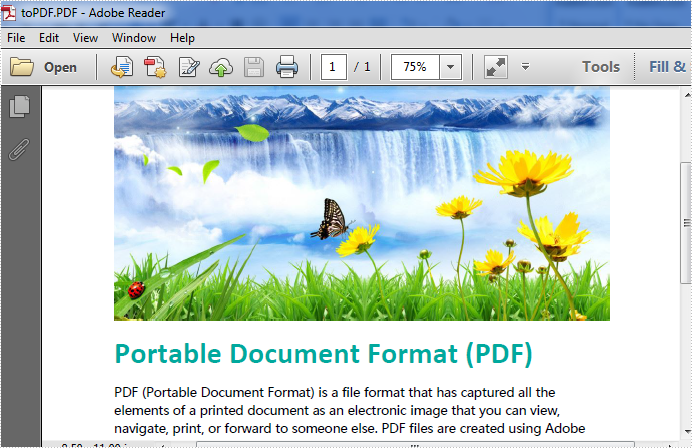
Effective screenshot:
With the help of Spire.Doc for WPF, developers can create and edit word documents easily and flexibly for their WPF applications. Sometimes developers need to protect their word documents for being read and edit by others. They may need to add password for the word files to protect them confidential. Then others have to enter the password to open the view the encrypted word documents. Spire.Doc for WPF offers a method of Document.Encrypt(); to enable developers to set the password for word documents and Document.RemoveEncryption(); to remove the encryption for word documents.
This article will demonstrate how to encrypt and word documents with password and decrypt the word documents in C# for WPF applications.
Note: Before Start, please download the latest version of Spire.Doc and add Spire.Doc.Wpf.dll in the bin folder as the reference of Visual Studio.
Here comes to the code snippets:
Step 1: Create a new word document and load the document from file.
Document document = new Document();
document.LoadFromFile("Sample.docx");
Step 2: Encrypt the document with password.
document.Encrypt("eiceblue");
Step 3: Save the encrypted document to file.
document.SaveToFile("Encryption.docx", FileFormat.Docx);
Step 4: Create a second new word document and load the encrypted document from file with the password.
Document document2 = new Document();
document2.LoadFromFile("Encryption.docx",FileFormat.Docx,"eiceblue");
Step 5: Decrypted the word document.
document2.RemoveEncryption();
Step 6: Save the decrypted document to file.
document2.SaveToFile("Decrytion.docx", FileFormat.Docx);
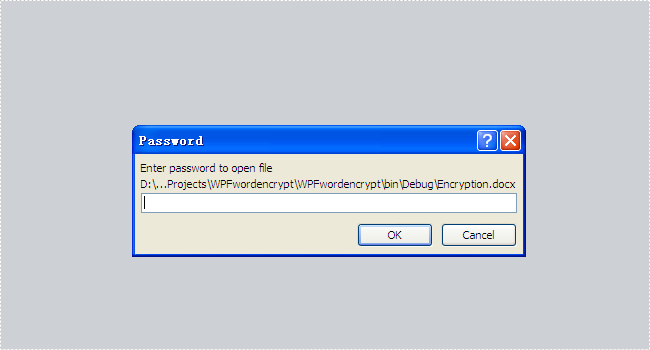
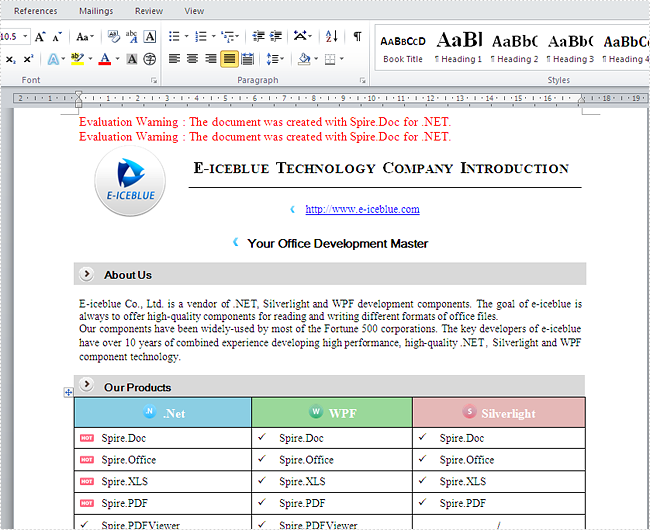
Please check the effective screenshots of the encrypted word document and the decrypted word documents as below:
Encrypted document with password:
Decrypted word document:
Full codes:
using Spire.Doc;
using System.Windows;

namespace WpfApplication1
{
    public partial class MainWindow : Window
    {
        public MainWindow()
        {
            InitializeComponent();
        }
        private void button1_Click(object sender, RoutedEventArgs e)
        {
            Document document = new Document();
            document.LoadFromFile("Sample.docx");

            document.Encrypt("eiceblue");

            document.SaveToFile("Encryption.docx", FileFormat.Docx);

            Document document2 = new Document();
            document2.LoadFromFile("Encryption.docx", FileFormat.Docx, "eiceblue");
            document2.RemoveEncryption();

            document2.SaveToFile("Decrytion.docx", FileFormat.Docx);

        }
    }
}
