
Knowledgebase (2344)
Children categories
RTF (Rich Text Format) is a versatile file format that can be opened and viewed by various word processing software. It supports a wide range of text formatting options, such as font style, size, color, tables, images, and more. When working with RTF files, you may sometimes need to convert them to PDF files for better sharing and printing, or to HTML format for publishing on the web. In this article, you will learn how to convert RTF to PDF or HTML with Python using Spire.Doc for Python.
Install Spire.Doc for Python
This scenario requires Spire.Doc for Python and plum-dispatch v1.7.4. They can be easily installed in your Windows through the following pip commands.
pip install Spire.Doc
If you are unsure how to install, please refer to this tutorial: How to Install Spire.Doc for Python on Windows
Convert RTF to PDF in Python
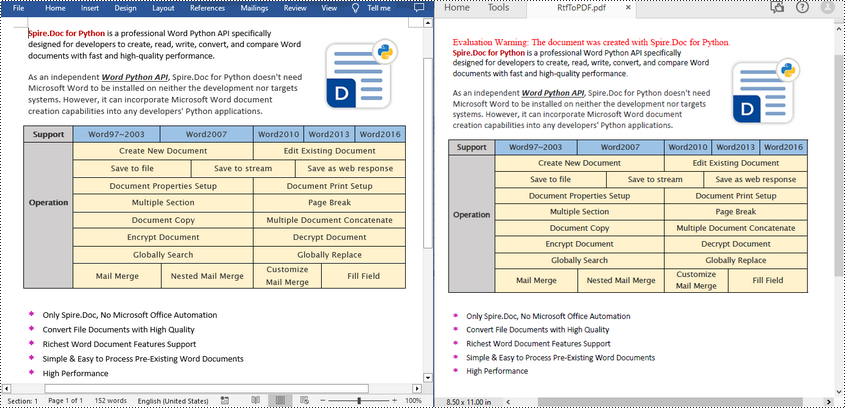
To convert an RTF file to PDF, simply load a file with .rtf extension and then save it as a PDF file using Document.SaveToFile(fileName, FileFormat.PDF) method. The following are the detailed steps.
- Create a Document object.
- Load an RTF file using Document.LoadFromFile() method.
- Save the RTF file as a PDF file using Document.SaveToFile(fileName, FileFormat.PDF) method.
- Python
from spire.doc import *
from spire.doc.common import *

inputFile = "input.rtf"
outputFile = "RtfToPDF.pdf"

# Create a Document object
doc = Document()

# Load an RTF file from disk
doc.LoadFromFile(inputFile)

# Save the RTF file as a PDF file
doc.SaveToFile(outputFile, FileFormat.PDF)
doc.Close()
Convert RTF to HTML in Python
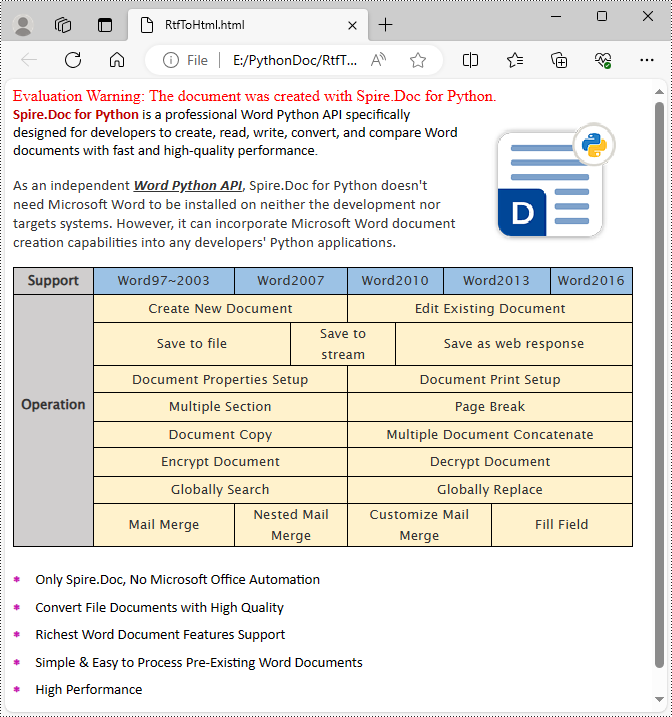
Spire.Doc for Python also allows you to use the Document.SaveToFile(fileName, FileFormat.Html) method to convert the loaded RTF file to HTML format. The following are the detailed steps.
- Create a Document object.
- Load an RTF file using Document.LoadFromFile() method.
- Save the RTF file in HTML format using Document.SaveToFile(fileName, FileFormat.Html) method.
- Python
from spire.doc import *
from spire.doc.common import *

inputFile = "input.rtf"
outputFile = "RtfToHtml.html"

# Create a Document object
doc = Document()

# Load an RTF file from disk
doc.LoadFromFile(inputFile)

# Save the RTF file in HTML format
doc.SaveToFile(outputFile, FileFormat.Html)
doc.Close()
Get a Free License
To fully experience the capabilities of Spire.Doc for Python without any evaluation limitations, you can request a free 30-day trial license.
PDF/A is a specialized format designed specifically for long-term archiving and preservation of electronic documents. It guarantees that the content, structure, and visual appearance of the documents remain unchanged over time. By converting PDF files to PDF/A format, you ensure the long-term accessibility of the documents, regardless of software, operating systems, or future technological advancements. Conversely, converting PDF/A files to standard PDF format makes it easier to edit, share, and collaborate on the documents, ensuring better compatibility across different applications, devices, and platforms. In this article, we will explain how to convert PDF to PDF/A and vice versa in Python using Spire.PDF for Python.
Install Spire.PDF for Python
This scenario requires Spire.PDF for Python and plum-dispatch v1.7.4. They can be easily installed in your Windows through the following pip command.
pip install Spire.PDF
If you are unsure how to install, please refer to this tutorial: How to Install Spire.PDF for Python on Windows
Convert PDF to PDF/A in Python
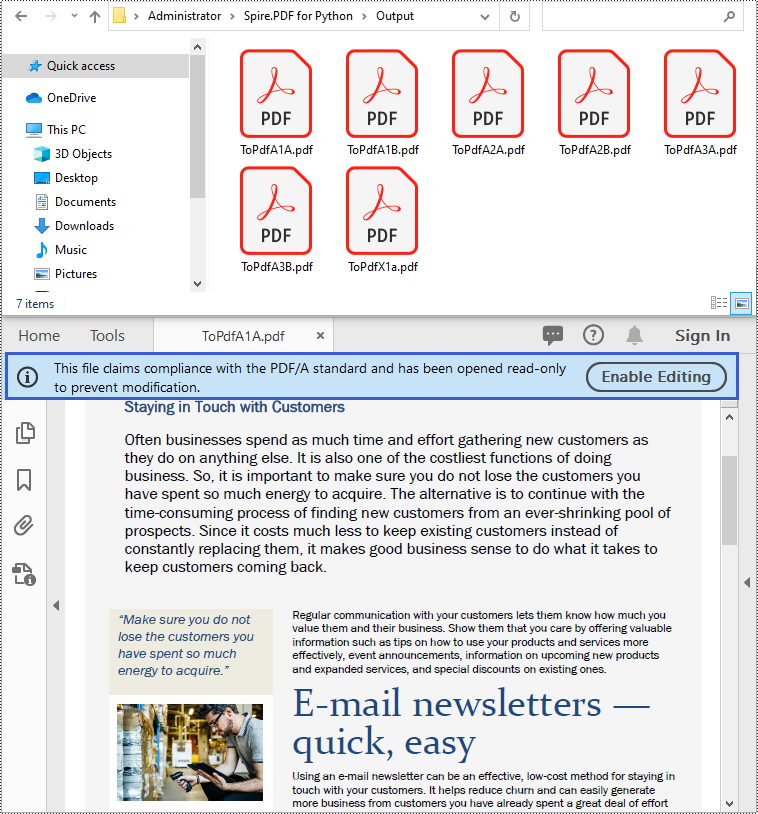
The PdfStandardsConverter class provided by Spire.PDF for Python supports converting PDF to various PDF/A formats, including PDF/A-1a, 2a, 3a, 1b, 2b and 3b. Moreover, it also supports converting PDF to PDF/X-1a:2001. The detailed steps are as follows.
- Specify the input file path and output folder.
- Create a PdfStandardsConverter object and pass the input file path to the constructor of the class as a parameter.
- Convert the input file to a Pdf/A-1a conformance file using PdfStandardsConverter.ToPdfA1A() method.
- Convert the input file to a Pdf/A-1b file using PdfStandardsConverter.ToPdfA1B() method.
- Convert the input file to a Pdf/A-2a file using PdfStandardsConverter.ToPdfA2A() method.
- Convert the input file to a Pdf/A-2b file using PdfStandardsConverter.ToPdfA2B() method.
- Convert the input file to a Pdf/A-3a file using PdfStandardsConverter.ToPdfA3A() method.
- Convert the input file to a Pdf/A-3b file using PdfStandardsConverter.ToPdfA3B() method.
- Convert the input file to a PDF/X-1a:2001 file using PdfStandardsConverter.ToPdfX1A2001() method.
- Python
from spire.pdf.common import *
from spire.pdf import *

# Specify the input file path and output folder
inputFile = "Sample.pdf"
outputFolder = "Output/"

# Create an object of the PdfStandardsConverter class
converter = PdfStandardsConverter(inputFile)

# Convert the input file to PdfA1A
converter.ToPdfA1A(outputFolder + "ToPdfA1A.pdf")

# Convert the input file to PdfA1B
converter.ToPdfA1B(outputFolder + "ToPdfA1B.pdf")

# Convert the input file to PdfA2A
converter.ToPdfA2A(outputFolder + "ToPdfA2A.pdf")

# Convert the input file to PdfA2B
converter.ToPdfA2B(outputFolder + "ToPdfA2B.pdf")

# Convert the input file to PdfA3A
converter.ToPdfA3A(outputFolder + "ToPdfA3A.pdf")

# Convert the input file to PdfA3B
converter.ToPdfA3B(outputFolder + "ToPdfA3B.pdf")

# Convert the input file to PDF/X-1a:2001
converter.ToPdfX1A2001(outputFolder + "ToPdfX1a.pdf")
Convert PDF/A to PDF in Python
To convert a PDF/A file back to a standard PDF format, you need to create a new standard PDF file, and then draw the page content of the PDF/A file to the newly created PDF file. The detailed steps are as follows.
- Create a PdfDocument object.
- Load a PDF/A file using PdfDocument.LoadFromFile() method.
- Create a PdfNewDocument object and set its compression level as none.
- Loop through the pages in the original PDF/A file.
- Add pages to the newly created PDF using PdfDocumentBase.Pages.Add() method.
- Draw the page content of the original PDF/A file to the corresponding pages of the newly created PDF using PdfPageBase.CreateTemplate.Draw() method.
- Create a Stream object and then save the new PDF to the stream using PdfNewDocument.Save() method.
- Python
from spire.pdf.common import *
from spire.pdf import *

# Specify the input and output file paths
inputFile = "Output/ToPdfA1A.pdf"
outputFile = "PdfAToPdf.pdf"

# Create an object of the PdfDocument class
doc = PdfDocument()
# Load a PDF file
doc.LoadFromFile(inputFile)

# Create a new standard PDF file
newDoc = PdfNewDocument()
newDoc.CompressionLevel = PdfCompressionLevel.none

# Add pages to the newly created PDF and draw the page content of the loaded PDF onto the corresponding pages of the newly created PDF
for i in range(doc.Pages.Count):
    page = doc.Pages.get_Item(i)
    size = page.Size
    p = newDoc.Pages.Add(size, PdfMargins(0.0))
    page.CreateTemplate().Draw(p, 0.0, 0.0)

# Save the new PDF to a PDF file
fileStream = Stream(outputFile)
newDoc.Save(fileStream)
fileStream.Close()
newDoc.Close(True)

Apply for a Temporary License
If you'd like to remove the evaluation message from the generated documents, or to get rid of the function limitations, please request a 30-day trial license for yourself.
OCR (Optical Character Recognition) technology is the primary method to extract text from images. Spire.OCR for Java provides developers with a quick and efficient solution to scan and extract text from images in Java projects. This article will guide you on how to use Spire.OCR for Java to recognize and extract text from images in Java projects.
Obtaining Spire.OCR for Java
To scan and recognize text in images using Spire.OCR for Java, you need to first import the Spire.OCR.jar file along with other relevant dependencies into your Java project.
You can download Spire.OCR for Java from our website. If you are using Maven, you can add the following code to your project's pom.xml file to import the JAR file into your application.
<repositories>
    <repository>
        <id>com.e-iceblue</id>
        <name>e-iceblue</name>
        <url>https://repo.e-iceblue.com/nexus/content/groups/public/</url>
    </repository>
</repositories>
<dependencies>
    <dependency>
        <groupId>e-iceblue</groupId>
        <artifactId>spire.ocr</artifactId>
        <version>2.1.5</version>
    </dependency>
</dependencies>
Please download the other dependencies based on your operating system:
Install Dependencies
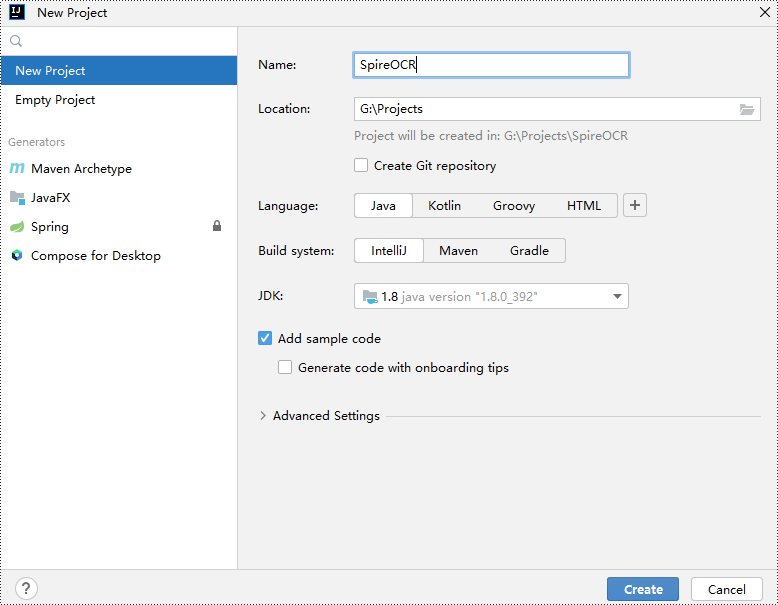
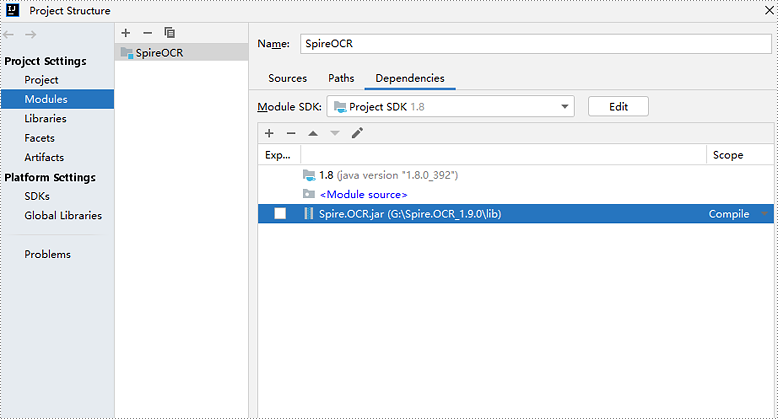
Step 1: Create a Java project in IntelliJ IDEA.
Step 2: Go to File > Project Structure > Modules > Dependencies in the menu and add Spire.OCR.jar as a project dependency.
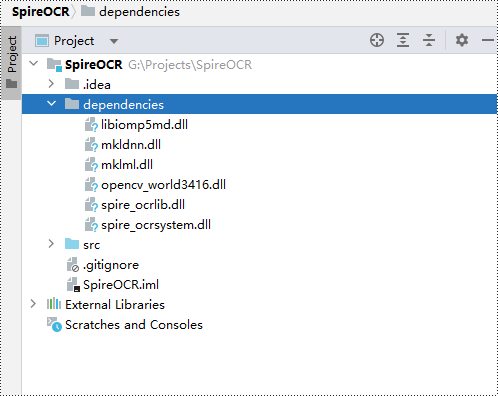
Step 3: Download and extract the other dependency files. Copy all the files from the extracted "dependencies" folder to your project directory.
Scanning and Recognizing Text from a Local Image
- Java
import com.spire.ocr.OcrScanner;
import java.io.*;

public class ScanLocalImage {
    public static void main(String[] args) throws Exception {
        // Specify the path to the dependency files
        String dependencies = "dependencies/";
        // Specify the path to the image file to be scanned
        String imageFile = "data/Sample.png";
        // Specify the path to the output file
        String outputFile = "ScanLocalImage_out.txt";

        // Create an OcrScanner object
        OcrScanner scanner = new OcrScanner();
        // Set the dependency file path for the OcrScanner object
        scanner.setDependencies(dependencies);

        // Use the OcrScanner object to scan the specified image file
        scanner.scan(imageFile);

        // Get the scanned text content
        String scannedText = scanner.getText().toString();

        // Create an output file object
        File output = new File(outputFile);
        // If the output file already exists, delete it
        if (output.exists()) {
            output.delete();
        }
        // Create a BufferedWriter object to write content to the output file
        BufferedWriter writer = new BufferedWriter(new FileWriter(outputFile));
        // Write the scanned text content to the output file
        writer.write(scannedText);
        // Close the BufferedWriter object to release resources
        writer.close();
    }
}
Specify the Language File to Scan and Recognize Text from an Image
- Java
import com.spire.ocr.OcrScanner;
import java.io.*;

public class ScanImageWithLanguageSelection {
    public static void main(String[] args) throws Exception {
        // Specify the path to the dependency files
        String dependencies = "dependencies/";
        // Specify the path to the language file
        String languageFile = "data/japandata";
        // Specify the path to the image file to be scanned
        String imageFile = "data/JapaneseSample.png";
        // Specify the path to the output file
        String outputFile = "ScanImageWithLanguageSelection_out.txt";

        // Create an OcrScanner object
        OcrScanner scanner = new OcrScanner();
        // Set the dependency file path for the OcrScanner object
        scanner.setDependencies(dependencies);
        // Load the specified language file
        scanner.loadLanguageFile(languageFile);

        // Use the OcrScanner object to scan the specified image file
        scanner.scan(imageFile);
        // Get the scanned text content
        String scannedText = scanner.getText().toString();

        // Create an output file object
        File output = new File(outputFile);
        // If the output file already exists, delete it
        if (output.exists()) {
            output.delete();
        }

        // Create a BufferedWriter object to write content to the output file
        BufferedWriter writer = new BufferedWriter(new FileWriter(outputFile));
        // Write the scanned text content to the output file
        writer.write(scannedText);
        // Close the BufferedWriter object to release resources
        writer.close();
    }
}
Apply for a Temporary License
If you'd like to remove the evaluation message from the generated documents, or to get rid of the function limitations, please request a 30-day trial license for yourself.
