
Knowledgebase (2345)
Children categories
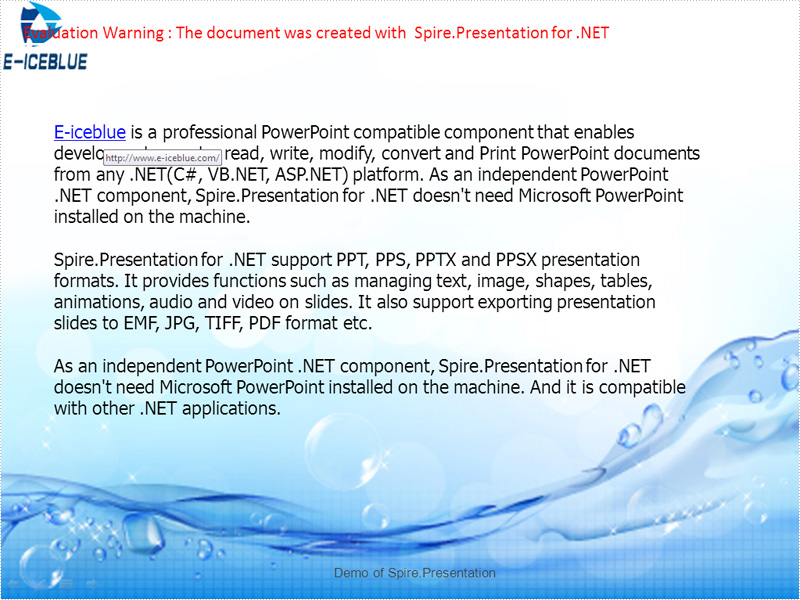
Hyperlinks can easily guide the readers to the place you want to point to and it displays large amount of information to readers. Spire.Presentation for .NET enables developers to insert hyperlinks in PowerPoint presentations. Developers can also modify the existing hyperlinks and replace with new link text or target URL. This section will show how to edit hyperlinks from presentation slides in C#. Firstly check the screenshot of the original hyperlink:

Spire.Presentation offers a ClickAction class for users to edit the hyperlinks. You can call the function ClickHyperlink to edit the hyperlinks. Here comes to the steps.
Step 1: Load a PowerPoint documents with hyperlinks.
Presentation pre = new Presentation();
pre.LoadFromFile(@"..\..\sample.pptx");
Step 2: Find the hyperlinks you want to edit.
IAutoShape shape = (IAutoShape)pre.Slides[0].Shapes[2];
Step 3: Edit the link text and the target URL.
shape.TextFrame.TextRange.ClickAction.Address = "http://www.e-iceblue.com";
shape.TextFrame.TextRange.Text = "E-iceblue";
Step 4: Save the document.
pre.SaveToFile(@"..\..\result.pptx",FileFormat.Pptx2010);
Effective screenshot after edit the hyperlink on presentation slide:
Full codes:
namespace EditHyperlink
{
    class Program
    {
        static void Main(string[] args)
        {
            Presentation pre = new Presentation();
            pre.LoadFromFile(@"..\..\sample.pptx");
            IAutoShape shape = (IAutoShape)pre.Slides[0].Shapes[2];
            shape.TextFrame.TextRange.ClickAction.Address = "http://www.e-iceblue.com";
            shape.TextFrame.TextRange.Text = "E-iceblue";
            pre.SaveToFile(@"..\..\result.pptx",FileFormat.Pptx2010);
            System.Diagnostics.Process.Start(@"..\..\result.pptx");
        }
    }
}
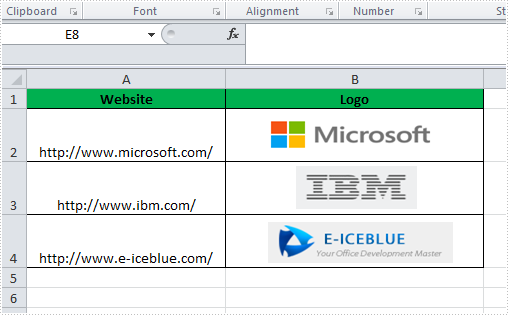
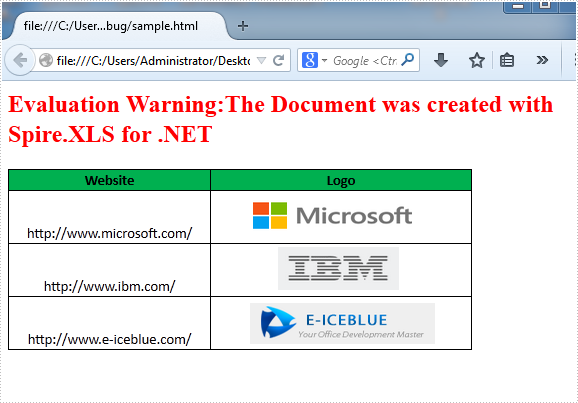
If you created a pretty Excel table and now want to publish it online as a web page, the simplest way is to export it to an old good HTML file. However a problem may occur if you just simply transform image in Excel to HTML code with a relative link (URL). This way, your web page may no longer display properly on client machines since the image can't be reached through that URL on client-side. In this article, we’re going to resolve this issue by embedding image in HTML code when converting Excel to HTML.
Here is an Excel table with some images embedded in.
We're able to convert this Excel file to HTML by following below code snippet:
Step 1: Create a new instance of workbook.
Workbook book = new Workbook();
book.LoadFromFile("Book1.xlsx");
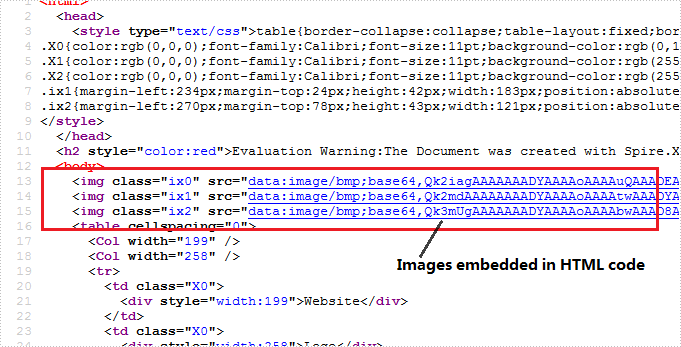
Step 2: Embed images into HTML code using Data URI scheme.
HTMLOptions options = new HTMLOptions();
options.ImageEmbedded = true;
Step 3: Save the worksheet to HTML.
book.Worksheets[0].SaveToHtml("sample.html", options);
System.Diagnostics.Process.Start("sample.html");
Output:
HTML Code:
Since the HTML code is too long to be displayed here, we have to present it by a screenshot.
Full C# Code:
using Spire.Xls;
using Spire.Xls.Core.Spreadsheet;
namespace CreateWorkbook
{
    class Program
    {
        static void Main(string[] args)
        {
            // create Workbook instance and load file
            Workbook book = new Workbook();
            book.LoadFromFile("Book1.xlsx");

            // embed image into html when converting
            HTMLOptions options = new HTMLOptions();
            options.ImageEmbedded = true;

            // save the sheet to html
            book.Worksheets[0].SaveToHtml("sample.html", options);
            System.Diagnostics.Process.Start("sample.html");

        }
    }
}
Remove borderline of textbox in Excel chart in C#, VB.NET
2014-08-12 07:57:21 Written by AdministratorThere is an article in the tutorials which demonstrates how to insert textbox with contents in Excel. Sometime back, a user of Spire.XLS wanted to know if it is possible to remove the borderline of the textbox that has been inserted in Excel chart. Yes, of course. This article focuses on delivering a solution to this issue.
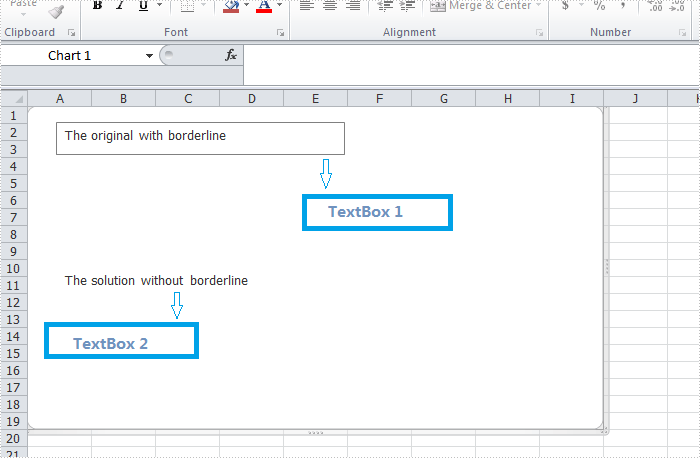
In the following section, we're going to create two textboxes in the same chart, one textbox is built with borderline, the other one without. Then we can learn how to remove borderline using Spire.XLS by comparison.
Code snippet for remove borderline of textbox:
Step 1: Create a new instance of workbook.
Workbook workbook = new Workbook();
workbook.Version=ExcelVersion.Version2010;
Step 2: Create a new worksheet named "Remove Borderline" and add a chart to the worksheet.
Worksheet sheet = workbook.Worksheets[0];
sheet.Name = "Remove Borderline";
Chart chart = sheet.Charts.Add();
Step 3: Create textbox1 in the chart and input text information.
XlsTextBoxShape textbox1 = chart.TextBoxes.AddTextBox(50, 50, 100, 500) as XlsTextBoxShape;
Step 4: Create textbox2 in the chart, input text information and remove borderline.
XlsTextBoxShape textbox = chart.TextBoxes.AddTextBox(500, 50, 100, 500) as XlsTextBoxShape;
textbox.Text = "The solution without borderline";
textbox.Line.Weight = 0;
Step 5: Save and launch the file.
workbook.SaveToFile("Sample.xlsx", ExcelVersion.Version2010);
Process.Start("Sample.xlsx");
Result:
Full code:
using Spire.Xls;
using Spire.Xls.Core.Spreadsheet.Shapes;
using System.Diagnostics;

namespace RemoveBorderlineofTextbox
{
    class Program
    {
        static void Main(string[] args)
        {
            // Create a new workbook
            Workbook workbook = new Workbook();
            workbook.Version = ExcelVersion.Version2010;
            // Get the first worksheet and rename it
            Worksheet sheet = workbook.Worksheets[0];
            sheet.Name = "Remove Borderline";
            // Add a chart to the worksheet
            Chart chart = sheet.Charts.Add();
            // Add the first text box (with visible border)
            XlsTextBoxShape textbox1 = chart.TextBoxes.AddTextBox(50, 50, 100, 500) as XlsTextBoxShape ;
            textbox1.Text = "The original with borderline";
            // Add the second text box (border will be hidden)
            XlsTextBoxShape textbox2 = chart.TextBoxes.AddTextBox(500, 50, 100, 500) as XlsTextBoxShape;
            textbox2.Text = "The solution without borderline";
            // Hide the border by setting line weight to 0
            textbox2.Line.Weight = 0;
            // Save the result file
            workbook.SaveToFile("Sample.xlsx", ExcelVersion.Version2010);
            Process.Start("Sample.xlsx");
        }
    }
}
Imports Spire.Xls
Imports Spire.Xls.Core.Spreadsheet.Shapes
Imports System.Diagnostics
Namespace RemoveBorderlineofTextbox
	Class Program

		Private Shared Sub Main(args As String())
			'Create a new workbook
			Dim workbook As New Workbook()
			workbook.Version = ExcelVersion.Version2010
			'  Get the first worksheet And rename it
			Dim sheet As Worksheet = workbook.Worksheets(0)
			sheet.Name = "Remove Borderline"
			'  Add a chart to the worksheet
			Dim chart As Chart = sheet.Charts.Add()
			'  Add the first text box (with visible border)
			Dim textbox1 As XlsTextBoxShape = TryCast(chart.TextBoxes.AddTextBox(50, 50, 100, 500), XlsTextBoxShape)
			textbox1.Text = "The original with borderline"
			'Add the second text box (border will be hidden)
			Dim textbox2 As XlsTextBoxShape = TryCast(chart.TextBoxes.AddTextBox(500, 50, 100, 500), XlsTextBoxShape)
			textbox2.Text = "The solution without borderline"
			'Hide the border by setting line weight to 0
			textbox2.Line.Weight = 0
			'Save the result file
			workbook.SaveToFile("Sample.xlsx", ExcelVersion.Version2010)
			Process.Start("Sample.xlsx")

		End Class
End Namespace
